Managing data
Browse and edit collections and records, filter, and import/export.
Updated
The Data tab is a working database UI over your collections — view and edit records, change schema, and move data in and out.
Schema
The Schemas screen lists your non-system collections (the _-prefixed
system tables are hidden here). You can create and edit admin-managed
collections through a drawer: add fields with their types and modifiers
(required, unique, min/max, options, relations), define row-level checks, and
toggle soft-delete. The row menu also locks/unlocks a schema (a locked one
disables Save) and deletes a collection — deletion runs a dependency
precheck first and warns about anything that references it. A separate Import
on this screen brings in a whole collection (schema + rows) from a file, as
opposed to importing rows into an existing collection (below).
Try it: The Schemas screen
- The Schemas screen lists every collection in your instance. go to /_/schema
- Create and edit admin-managed collections through a drawer — fields, checks, and soft-delete. hover posts
Note
Collections defined in Go code show as code-defined and are read-only in the UI — change those in your schema and run a migration. When editing an admin-managed collection, a Preview migration button runs a dry-run diff on demand: it lists exactly which fields will be added, dropped, renamed, or retyped and flags destructive changes before you Save.
Records
The Data tab opens on a collection picker — a searchable, sortable list of your non-system collections (it does not jump you into one). Pick a collection from that list to open its data grid:
- Create / edit — "New" and row "Edit" open a side drawer; for simple field types you can also click a cell to edit inline (saves on Enter).
- Filter & sort — a filter box takes an expression
(
status='published' && views>100) and a sort box takes a key list (-created,title). A full-text search box appears for collections with a searchable field. - Bulk actions — select rows to delete in bulk; you get a per-row success report.
- Tree / DAG views — hierarchical and self-referencing collections get tree/graph toggles.
Try it: A real records session — create, edit, filter, export
- Start on the Data tab. Railbase shows your collections as a searchable list. go to /_/data
- Pick the posts collection from the list to open its grid. click “posts”
- Click New to open the create drawer over the grid. click “New”
- Give the post a title. type “Launching Railbase v1” into [role=dialog] input[type=text]
- And give it a view count. type “150” into [role=dialog] input[type=number]
- Save. The drawer closes and the new row appears in the grid. click “Create”
- Now filter the grid — show only posts with more than a hundred views. type “views>100” into filter
- Finally, export the result. Export CSV runs as a background job and downloads when it's ready. click “Export CSV”
Note
The built-in _users collection opens the dedicated Users
screen (which understands accounts), not the generic grid — so you manage app
users there.
Import & export
- Import — CSV, TSV, and XLSX. Pick a file, map columns to fields (required fields are flagged), preview the first rows, then run an async import with a progress bar and a per-row error report.
- Export — the records grid's Export CSV runs as a background job and
downloads when ready (handles large collections without timing out). The REST
API additionally serves XLSX at
GET /api/collections/{name}/export.xlsx.
System collections
The old Data → System group was retired. The internal _-prefixed
collections (_sessions, _jobs, _migrations, …) no longer appear in the
sidebar or the collection picker, but you can still open any of them by direct
URL for debugging — e.g. /_/data/_sessions. The two you manage day-to-day
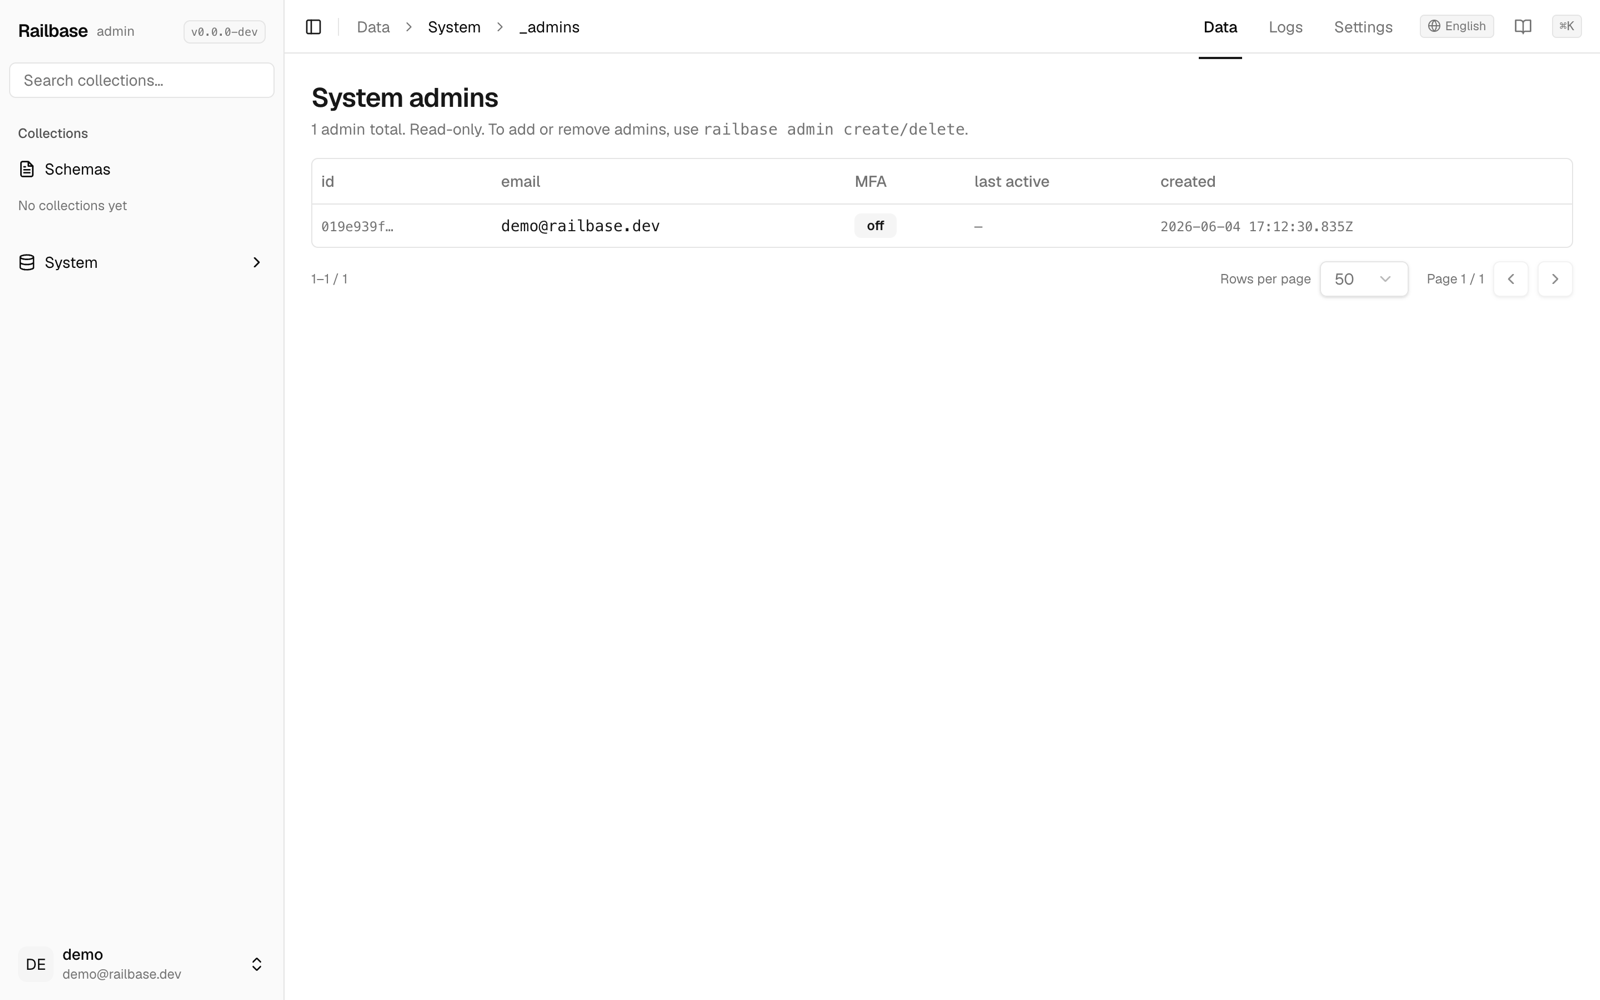
have their own screens instead: _users → the Users & access hub, _admins
→ Admins & roles (both under /access).